Is Gauge Really That Important?

We get this question multiple times a day at the local yarn shop I work at.  The answer is always YES!!!

In reality, you can continue knitting scarves, shawls, and cowls by the seat of your pants without ever knitting a gauge swatch.  But watch out! One day it will catch up with you--- I promise! --- and the gorgeous new cowl, sweater, or hat you just finished will be three sizes too big or three sizes too small.

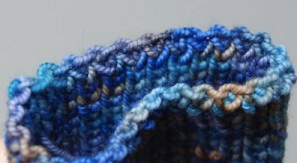
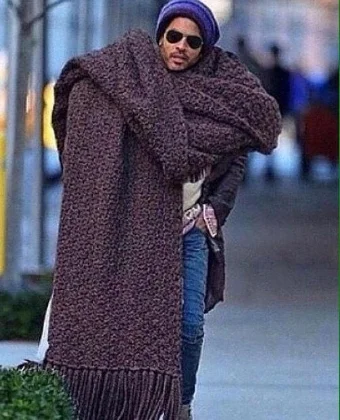
Yes, there are times when I don’t knit a gauge for a scarf pattern but in the back of my mind I wonder if the scarf will end up looking like this… 

lenny kravitz scarf.jpg

When you’re knitting something that’s supposed to fit correctly, the right gauge is crucial.  Knitting a gauge swatch will ALMOST always guarantee success. Sometimes you might have to knit multiple gauge swatches to get it right, but it’ll be worth it!

Here’s how it works -

Imagine that you knit up a 4 inch gauge swatch on US 7 needles according to your pattern and the swatch is ¼ an inch smaller than it should be.  You decide to go ahead and knit your sweater with the US size 7 needles.  Your sweater is going to be ¼ an inch smaller EVERY 4 inches in your finished garment.  If your finished dimensions were supposed to be:

Bust circumference = 38 inches

Length shoulder to hem = 25 inches

According to your gauge swatch your finished dimensions would be 2 and ¼ inches smaller around the bust and 1.5 inches shorter in the length.  After all that work, it may not fit!

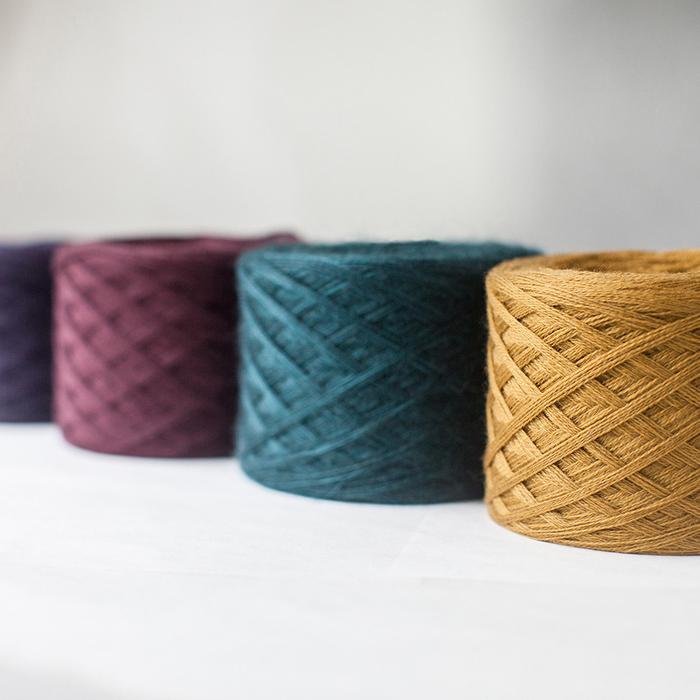
Gauge also helps determine if a yarn substitution for a pattern will work.  Instead of investing in a large purchase of yarn you can choose to purchase one ball, and knit the gauge swatch according to your pattern.  When your gauge swatch is complete, examine it.  Do you like the weight of the fabric? Are the stitches too open or too tight?  Do you like the color or variation of the colors in the yarn?  Once you are happy with your gauge swatch then go back to your yarn store and buy enough yarn to make your garment.   But if you decide you don’t like the yarn you were substituting, no problem!  You didn’t invest $100 or 100 hours knitting a sweater that you will never wear.

Knitting a gauge swatch also helps determine if you even want to knit the garment in the first place.  Most gauge swatches are knit in the same stitches that will be used in the pattern.  If your sweater is made up of moss stitch, then your gauge will be completed in moss stitch as well.  If you don’t enjoy knitting the 4 inch gauge swatch, I guarantee that you won’t enjoy knitting the entire sweater!  Another fast way for a $100 project to end up in a bag at the bottom of a closet.

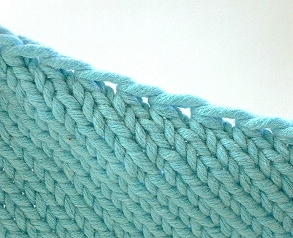
Personally, I like take knitting gauge swatches one step further.  I block my gauge swatches.  Really. I know it sounds crazy, but here’s exactly what I do.  When I finish my swatch, I cut the yarn and leave a 6 inch tail.  In that tail I make as many knots as the needle size I used to knit the swatch. If I knit a swatch on a US 7 needle, I make 7 knots in my tail.  This way I always know what size needle I used to make that swatch.  This is really useful when knitting a couple of gauge swatches for the same sweater.  Then I block the swatches.    Some yarns grow a little and some yarns shrink a little when you block your final project.  Once I knit a sweater that fit perfectly until I blocked it then the sweater was a little too big.  All that time and money could have been saved and I could have one more sweater to wear had I just blocked my swatch.  Here is a link to my blog on blocking.

One last thing - knitting gauges can actually be something that you look forward to doing.  They are small so they don’t take long to knit and they are usually easy to knit so it’s great to do when you are watching tv.

My New Year's Knitting Resolutions

Happy New Year Everyone!  Here are some of my favorite Knitting New Year's Resolutions and a few new ones I plan to make this year.  Happy Knitting in 2017!

1.       Finish or Frog all U.F.O.’s.  Four years ago, I made this resolution and I kept it!  It felt so great to finish all of my U.F.O.’s and rip out the projects I knew I wouldn’t finish. I was hard on myself, and wouldn’t allow myself to start a new project until every single U.F.O. was finished or frogged.

2.       In 2017, set a project limit.  I won’t have more than 3 projects going on at the same time.  This includes knitting patterns that I’m creating.  I won’t allow myself to cast on another project until I finish one.

3.       Clean out your stash and supplies.  Donate or sell all yarn and supplies you won’t use.  I’ve done this a couple of times and it feels great!  Plus, I make room for new yarn purchases in 2017!

4.       Now that you’ve cleaned out your stash, throw away your guilt!  Do NOT feel guilty for buying yarn, even if you have an entire room filled with yarn like I do.  I always remind myself that there are a lot worse addictions out there than buying yarn and knitting.  Plus, when I purchase yarn in person at a local yarn shop I’m helping the community by supporting a local, small business.  Still feel guilty when buying more yarn?  Try to CO one project from your stash, then CO one project from a newly purchased yarn.

5.       Support your local yarn shop.  This is a big one for me.  I love discovering new yarn shops in our local area and when I travel.  But there are a surprising number of knitters out there that purchase most their yarn and knitting supplies online.  Our local yarn shops will continue to close at a rapid rate unless we consistently support them.  Try making it a habit to ONLY purchase your yarn and supplies through your local yarn shop.  I’m lucky enough to work part time at Wool and Grace in Summit, NJ and we absolutely love seeing our regular customers and meeting new ones that we hope to become regulars. 

6.       Participate in more classes, events, and knitting groups at your local yarn shop.  YouTube is a very valuable knitting resource at 10pm on a Sunday evening.  But, YouTube cannot replace the need for in person classes and groups. You will learn much more from in person classes and you will meet other likeminded people with a similar interest and who knows you may make a few more lifelong friends.

7.       Be brave!  Try a new technique or make a new type of garment in 2017.  Never made a sweater or knit fair isle before?  2017 is your year to try.  I’m going to continue developing knitting patterns in 2017 and have committed to trying new techniques and styles this year.

8.       Create a knitting space just for you.  You can use a bureau or bookcase to store your knitting supplies and yarn or you can take over the home office or guest room.  Just give yourself a space that is just yours to keep the things that you love about knitting. I took over our home office last year and I absolutely LOVE my knitting room.  I use my stash more and I’m frequently inspired by it.

9.       Be selfish!  Yes, I said it be selfish.  Make more knitted items for you in 2017.  It is fun to make gifts for your friends and loved ones.  But you will appreciate all the hours that go into making that gorgeous sweater with cashmere yarn much more than anyone else will.  I was inspired to become a more selfish knitter because my friend makes herself the most gorgeous sweaters.  She inspired me to knit for myself in 2016 and I love it.

10.   Find time every day to knit, even if it’s just 5 minutes.  Those 5 minutes will be spent doing something that you love and will feed your soul much more than emptying the dishwasher.

Alternative Bind Offs

I've been in a bit of a knitting rut lately and didn't realize it until I knit SpliTTop by La Maison Rililie.  I've been knitting for over 20 years and I usually use the standard, traditional bind off method for all of my projects unless otherwise directed by the pattern I'm working on.  However, La Maison Rililie used a 3 stitch I-cord bind off in the SpliTTop design that was just gorgeous, reminding me that doing something one way just because that's the way I've always done it wasn't really the best approach.  This realization got me to dust off some other rarely used bind off methods and try to learn a new one as well.  I looked through my usual knitting resources, and some unusual ones too, and discovered Jeny's Surprisingly Stretchy bind off created by Jeny Staiman.  This new bind off and others listed below left me wondering why I would use the same old traditional bind off method again.  I'm sure there are plenty of other alternative bind off methods that I can try instead of the traditional method, and I'm looking forward to trying them all!  


Sloped Edge Bind Off

This method is great for shoulders, necklines, and armhole shaping.  The Migration Cardigan by Stacey Gerbman utilizes this bind off method for the shoulders and armholes of the garment.  The yarn store that I work at, Wool and Grace is having a Migration KAL right now.  If you live locally please stop by and join in our KAL, if not join in virtually!   I love seeing all of the different yarns and colors people are using to make this gorgeous sweater.


Jeny's Surprisingly Stretchy Bind Off

Jeny's Surprisingly Stretchy bind off created by Jeny Staiman is just as it promises, very stretchy. This method is also referred to as the "Knit Yarnover Chained Cast Off" in The Principles of Knitting by June Hemmons Hiatt.  This method is very simple to execute.  Rather than knitting two stitches then passing the first stitch over the second stitch; you knit the first stitch then yarn over then knit one more stitch then pass the yarn over and first stitch knit over the third stitch.  For the remainder of the bind off, you yarnover and knit a stitch then pass both the yarnover and the stitch left behind from the previous bind off group over the knit stitch. This bind off is so stretchy that I have unraveled three previously knit garments and re-bound them off utilizing this method.  If I made you a sweater in the past don't be surprised if I ask for it back to re-bind off your sweater, or if you find me in your closet with said sweater and needles in hand...  Jeny Staiman also created an equally stretchy cast on to complement this bind off called Jeny's Stretchy Slipnot Cast-On.


I-Cord Bind Off  

In the design SpliTTop by La Maison Rililie, the designer uses a 3 stitch I-cord bind off for the sleeves and the hem of the garment.  This created a remarkably professional looking edge that I know I will use in future garments.  When working this bind off it is imperative to use a needle 2-4 sizes bigger than the needles used to create the garment.  I forgot about this tip when knitting SpliTTop and essentially created a tourniquet on one sleeve!   This bind off has little to no stretch to it and creates a firm edge.  


Grafting or Kitchner Stitch Bind Off

graftstep11.jpg

This method is great for binding off K1P1 ribbing or stockinette stitch.  This bind off is very stretchy and invisible all while looking professionally finished.  This method is usually used to bind off socks.  Vogue Knitting has a great tutorial on their website explaining the different grafting bind off methods.  


I hope that you try a couple of these alternative bind offs in your knitting.  Let me know which are your new favorites.

To Block or not to block

Does blocking really make a big difference in your finished knitted item?  The answer is YES!!!!  If you have never blocked before try it!  You will see your item transform from "homemade" into a beautiful piece that will look like you purchased it from a high end store and you will wonder why you never did it before.

Read More